JIM'S BMW R90S
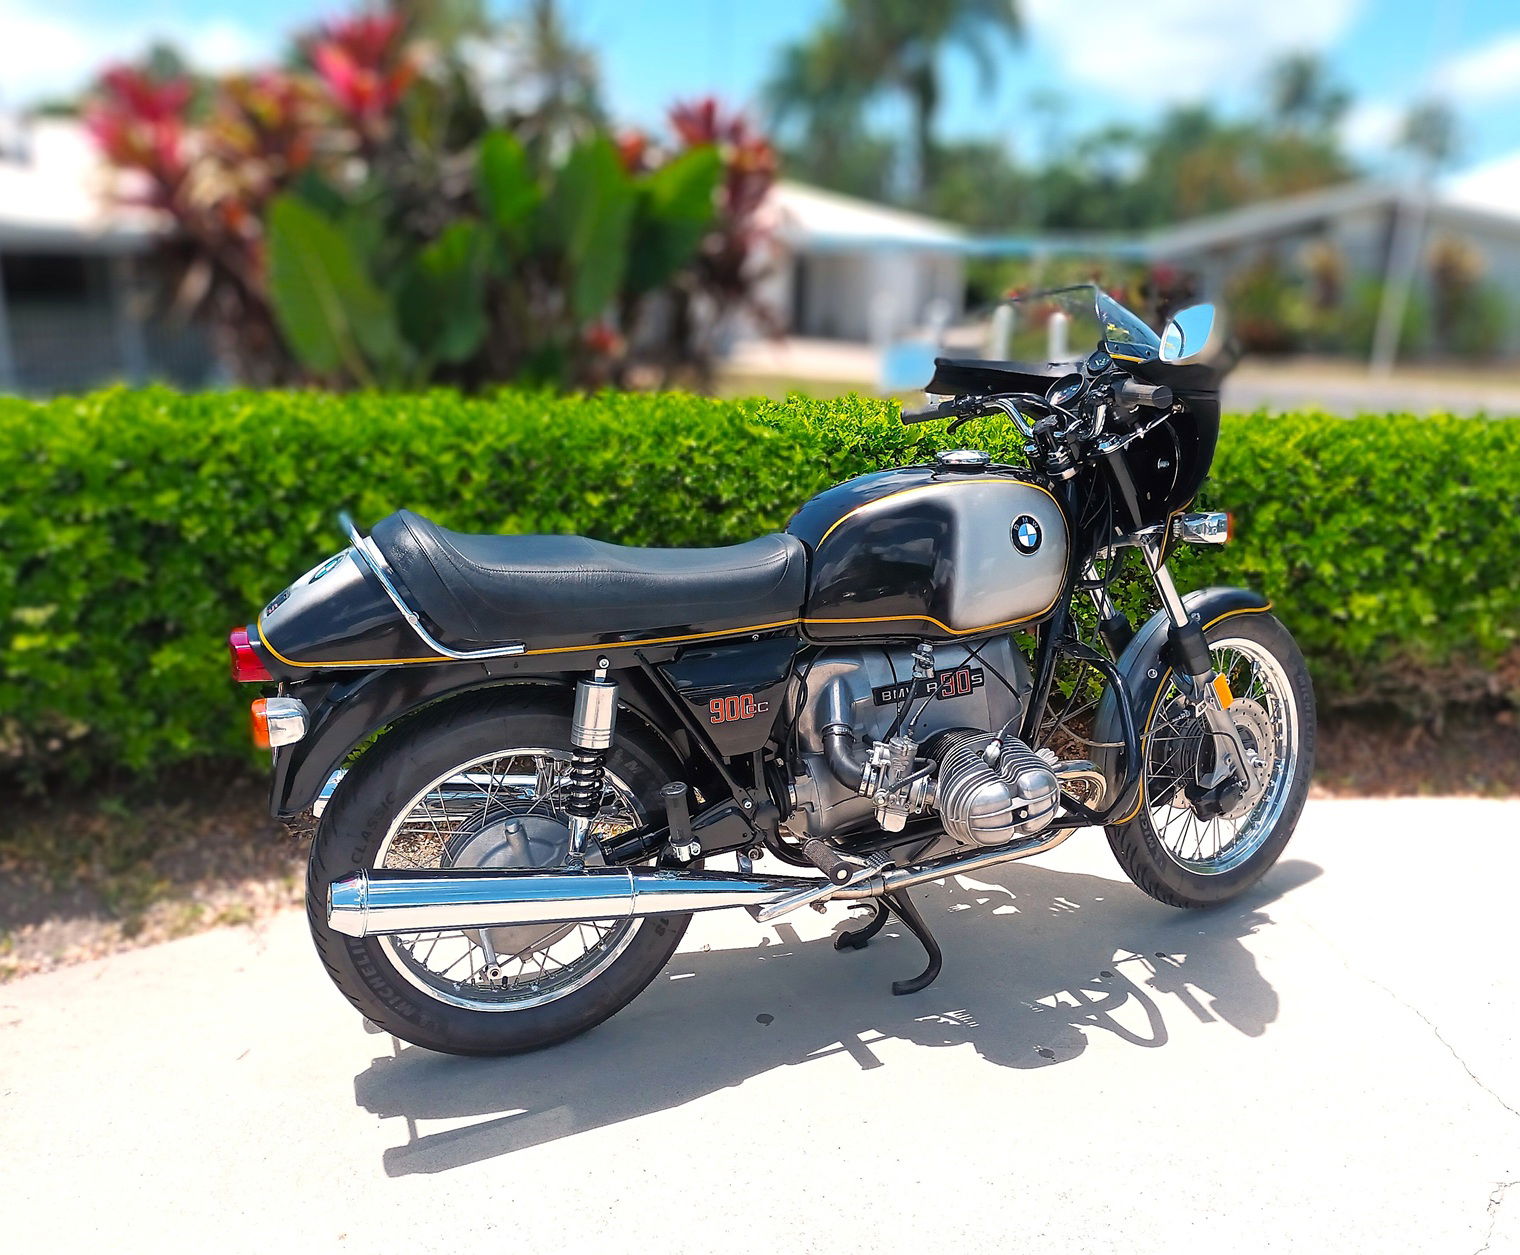
About ten years ago club member Don Roy mentioned to me that he had aBMW R90S in pieces in his shed, and one day he would rebuild it. My immediate reply was if he ever wanted to sell it, could I please be his firstphone call. Like a lot of BMW enthusiasts, I wanted an R90S so bad when it hitthe market back in 1974, but not at that price.
When Don got the bike it had not run for more than 25 years and had spent along time after being in a crash, laying on its side in the mud under a house inSydney, so it was in a bit of a state. For some very peculiar reason the poorthing had also been painted with yellow house paint ?????????
Fast forward about ten years, and out of the blue I got a call from Don, and didI still want to buy it. A deal was done with regard to the work Don had alreadydone on it, and he had already bought quite a few new parts and cylindersfrom Germany.
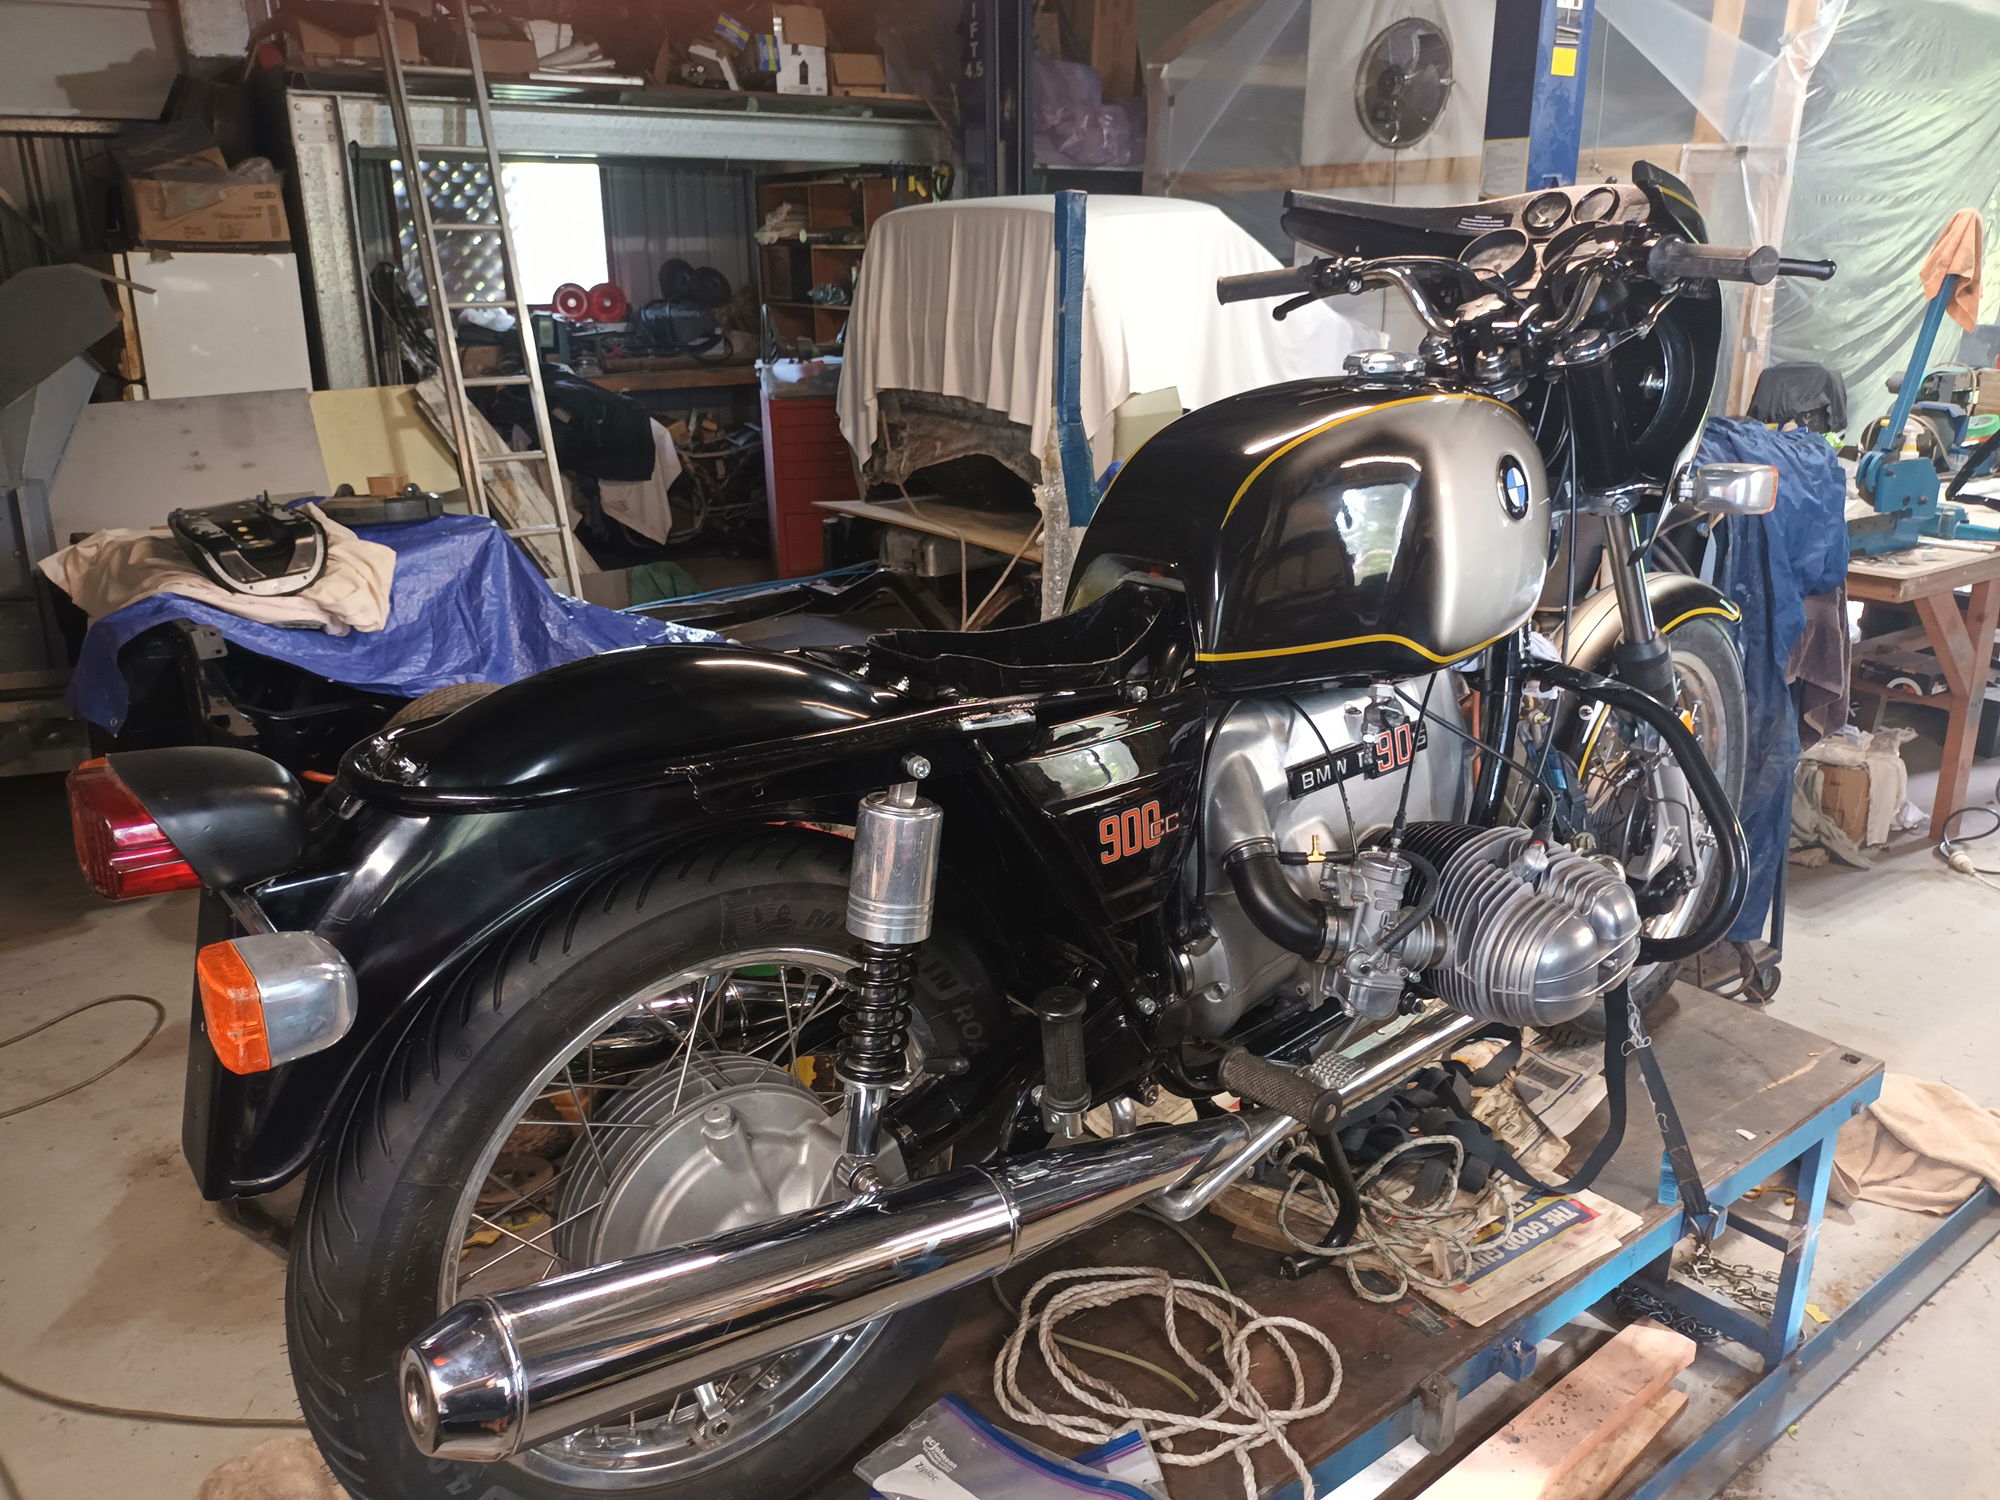
We managed to load the entire R90S into my wagon,
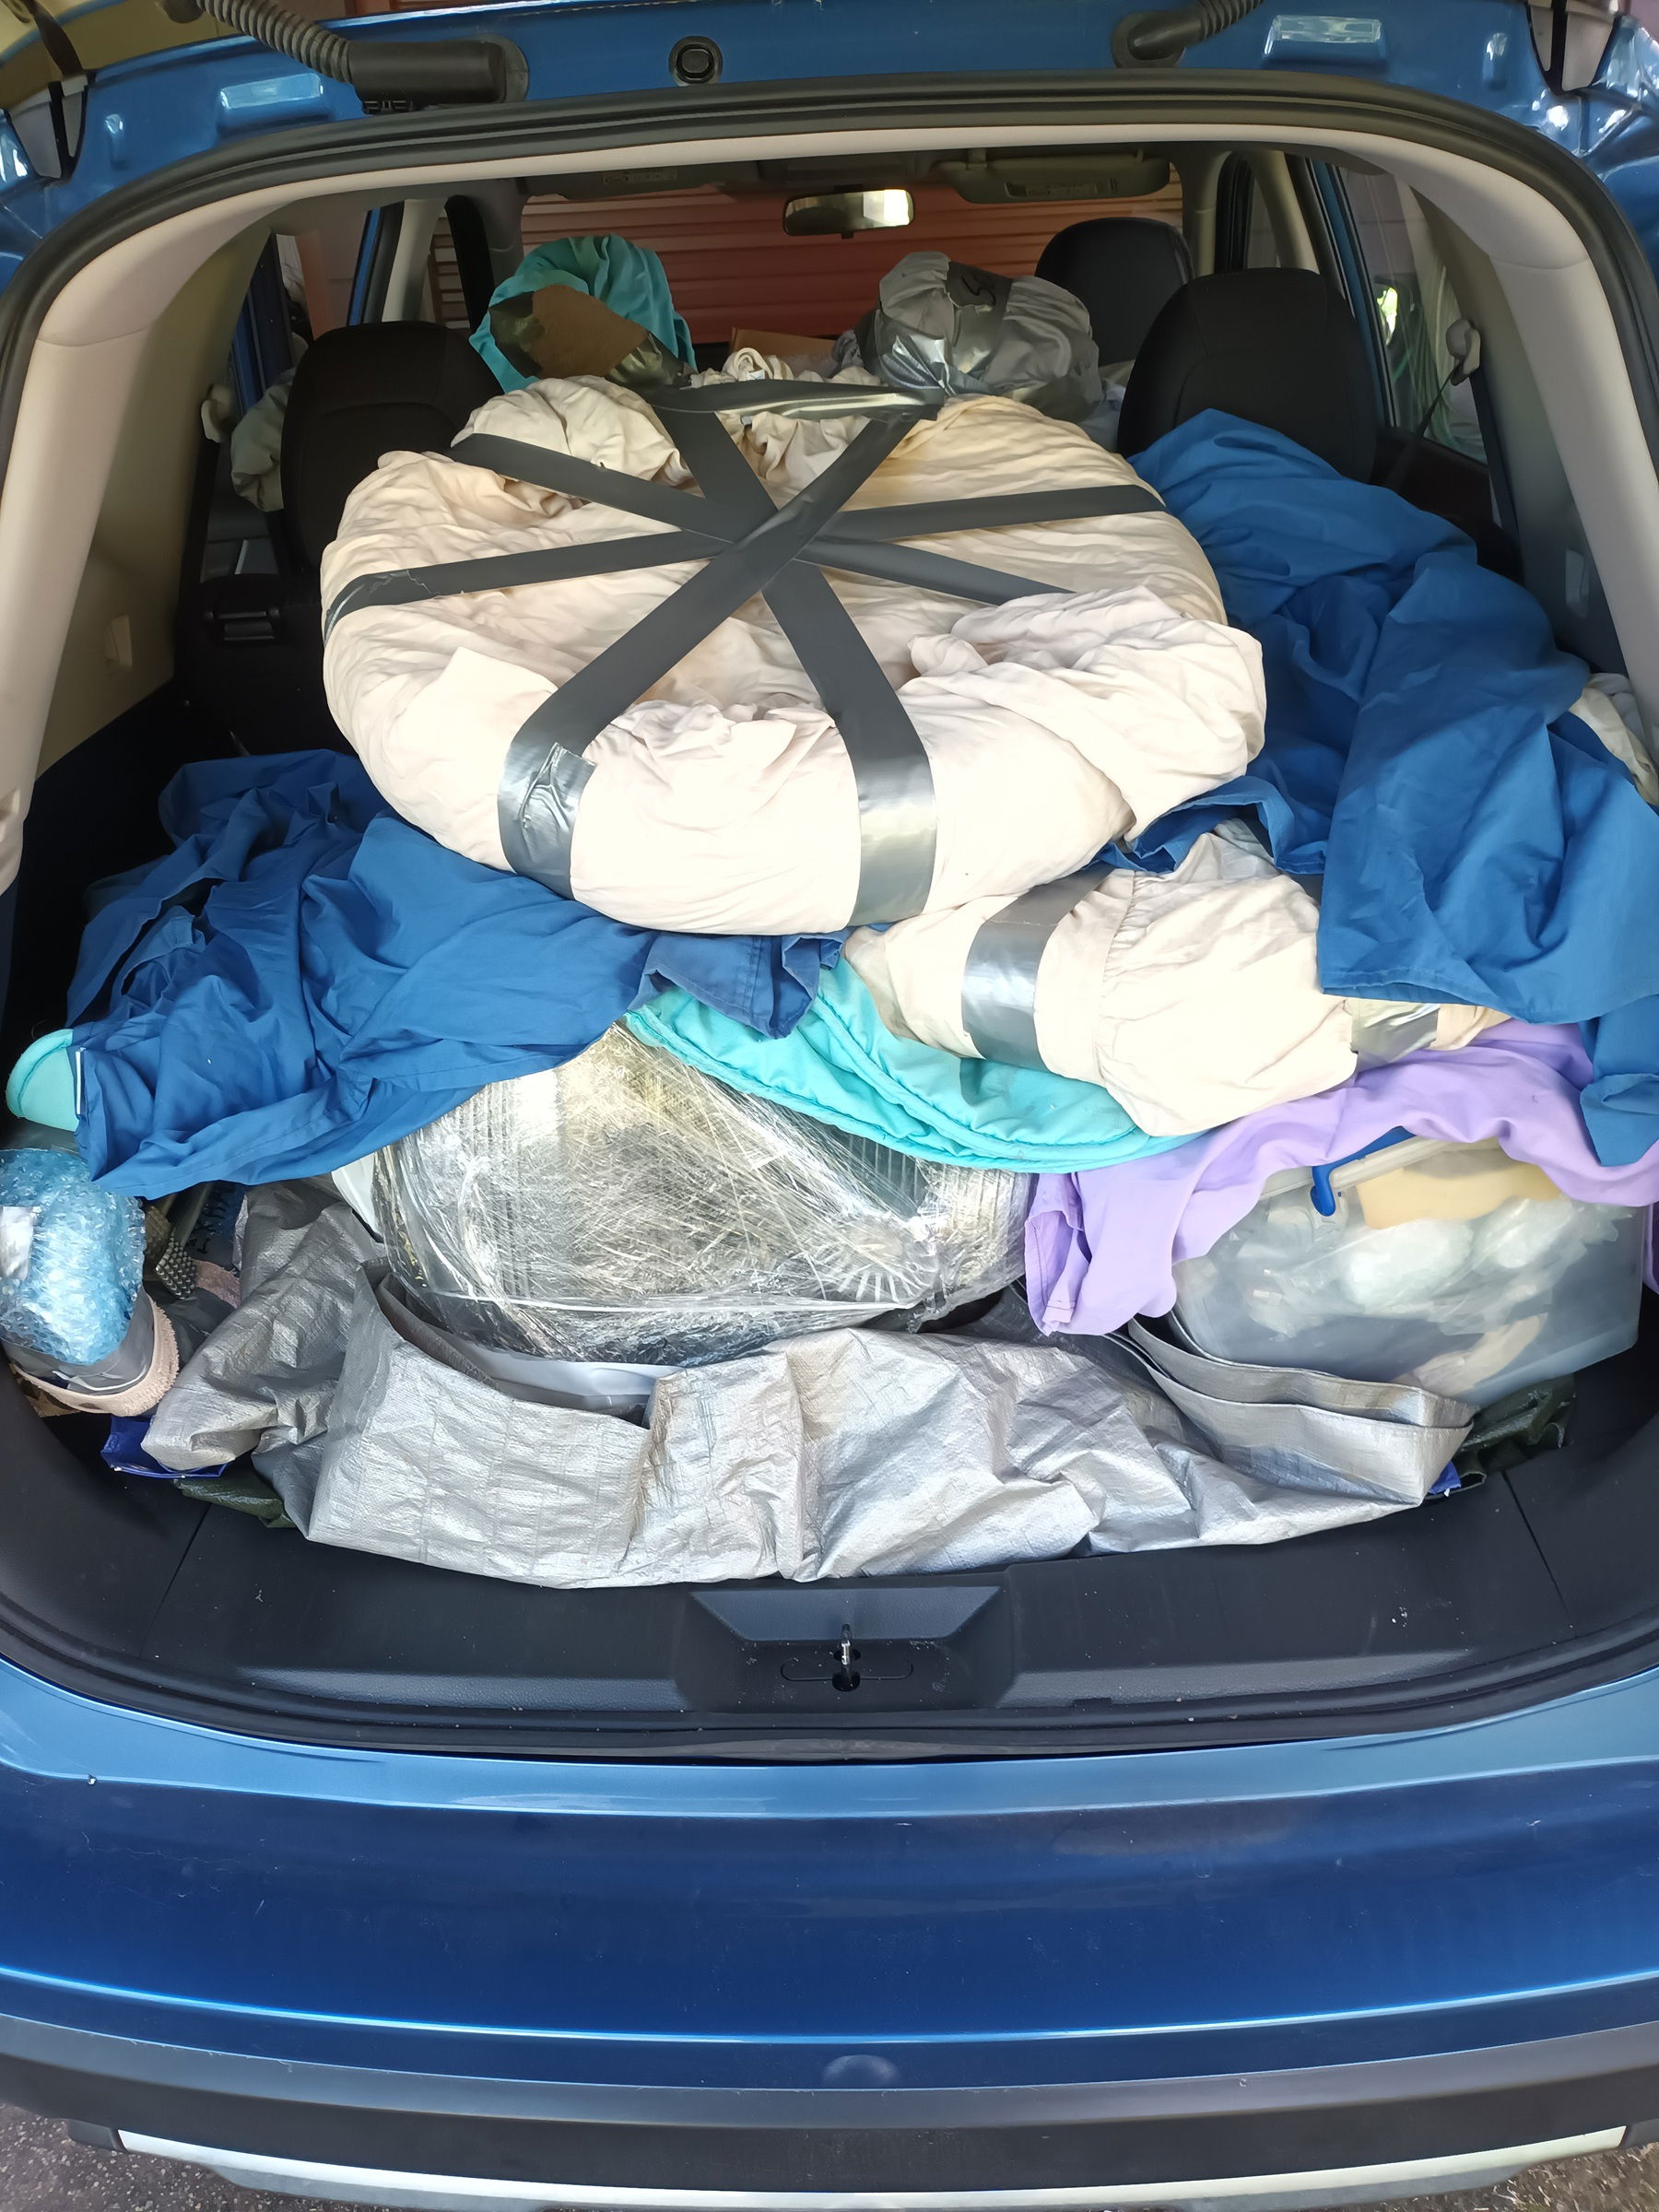
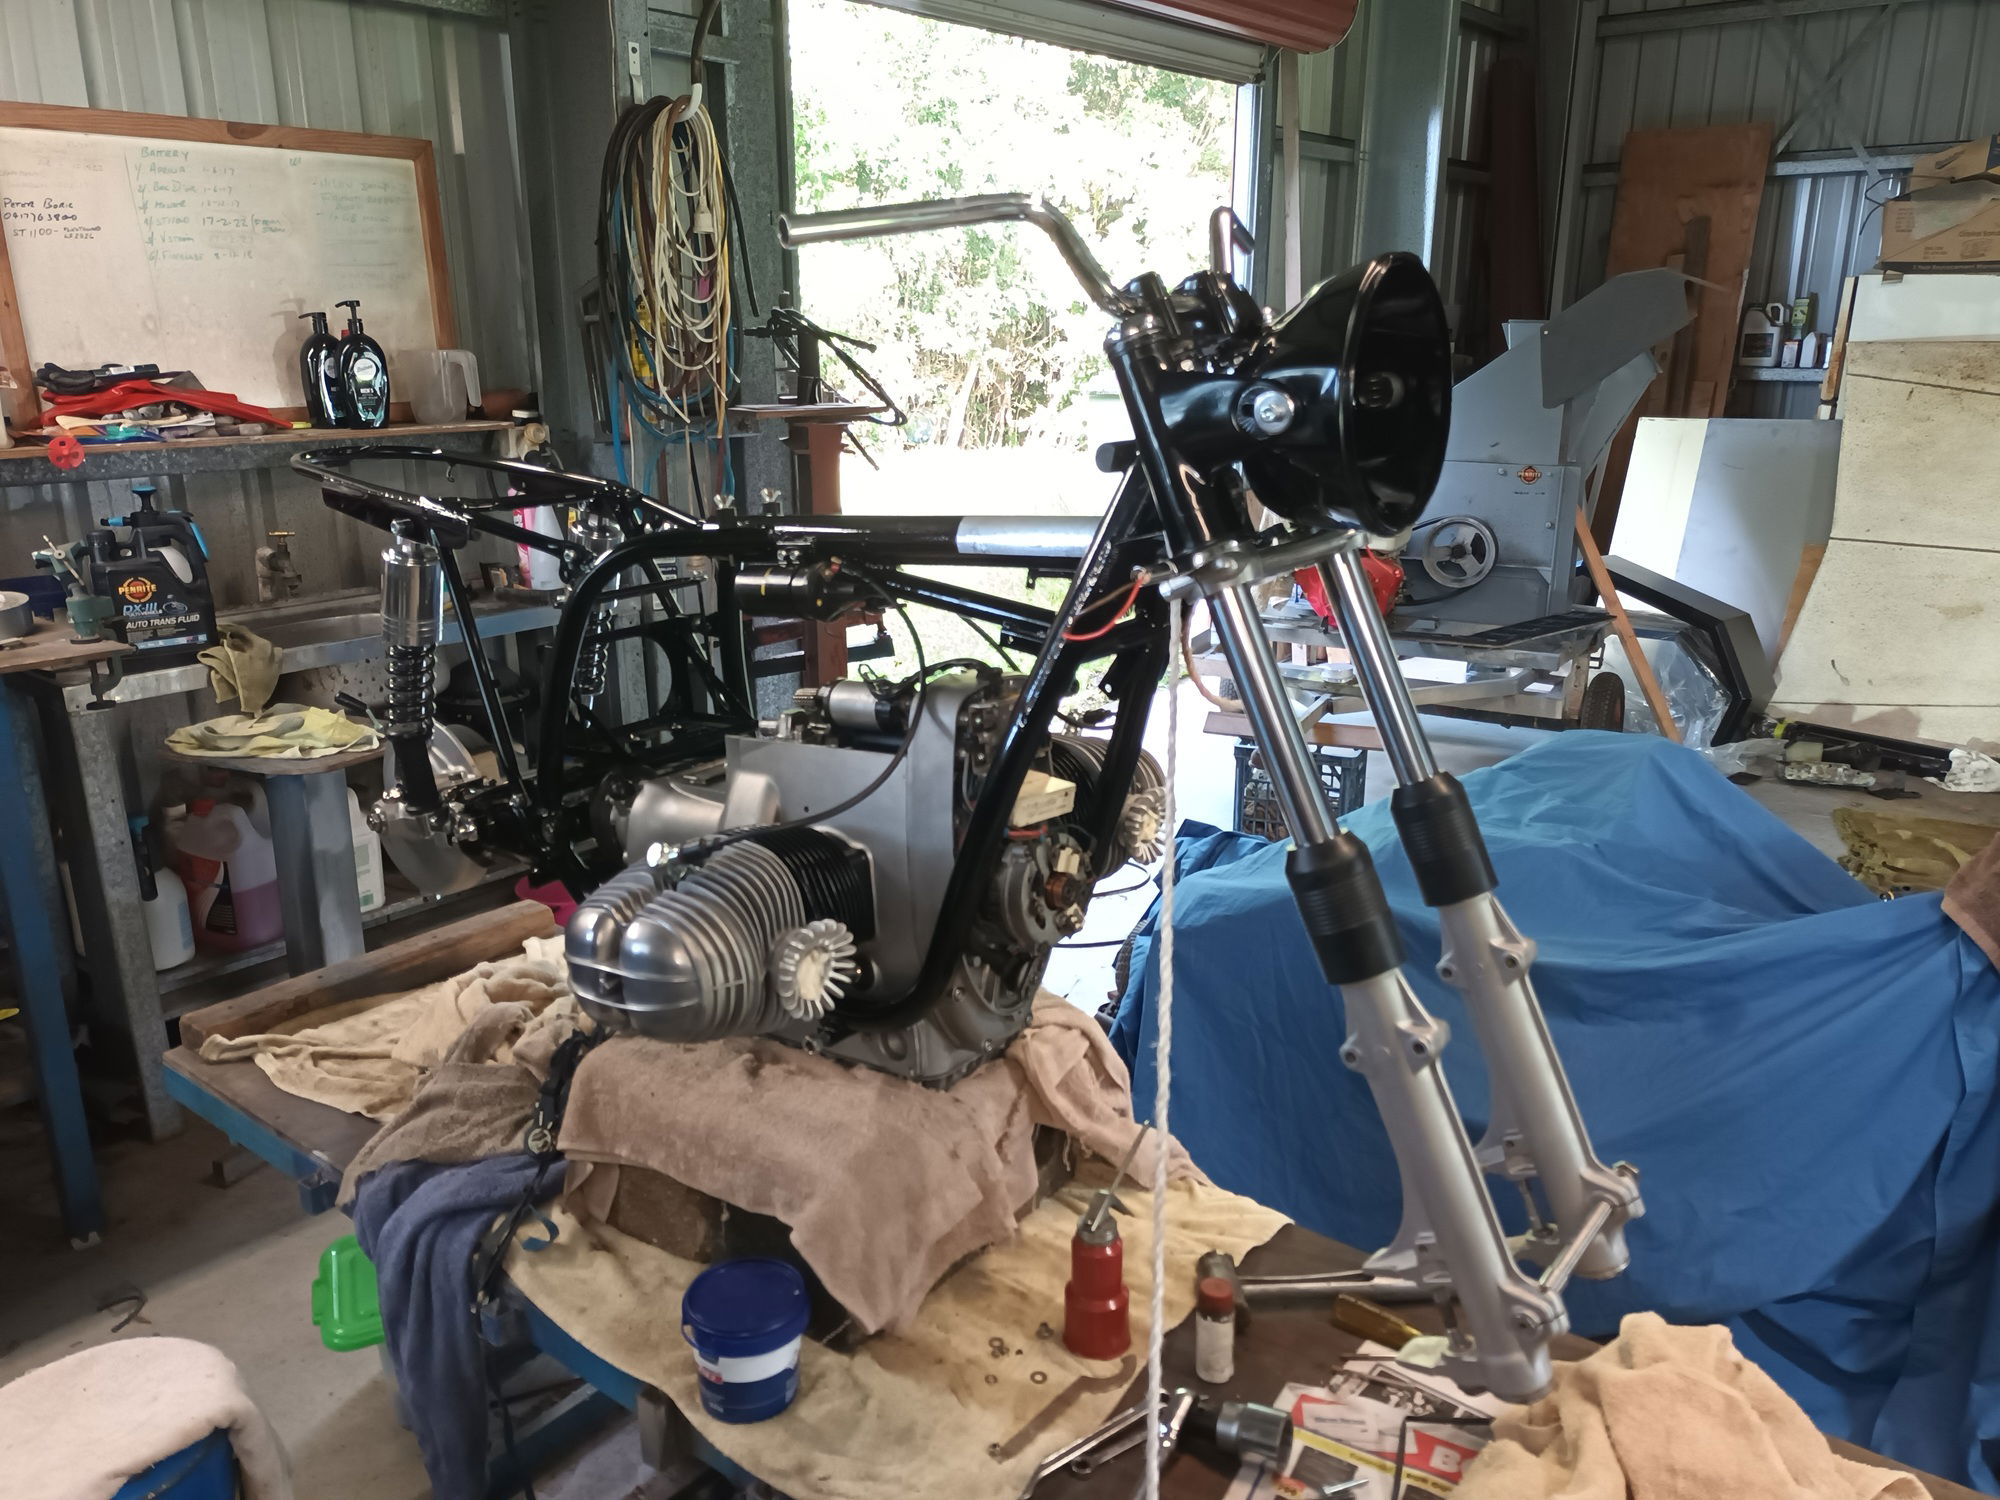
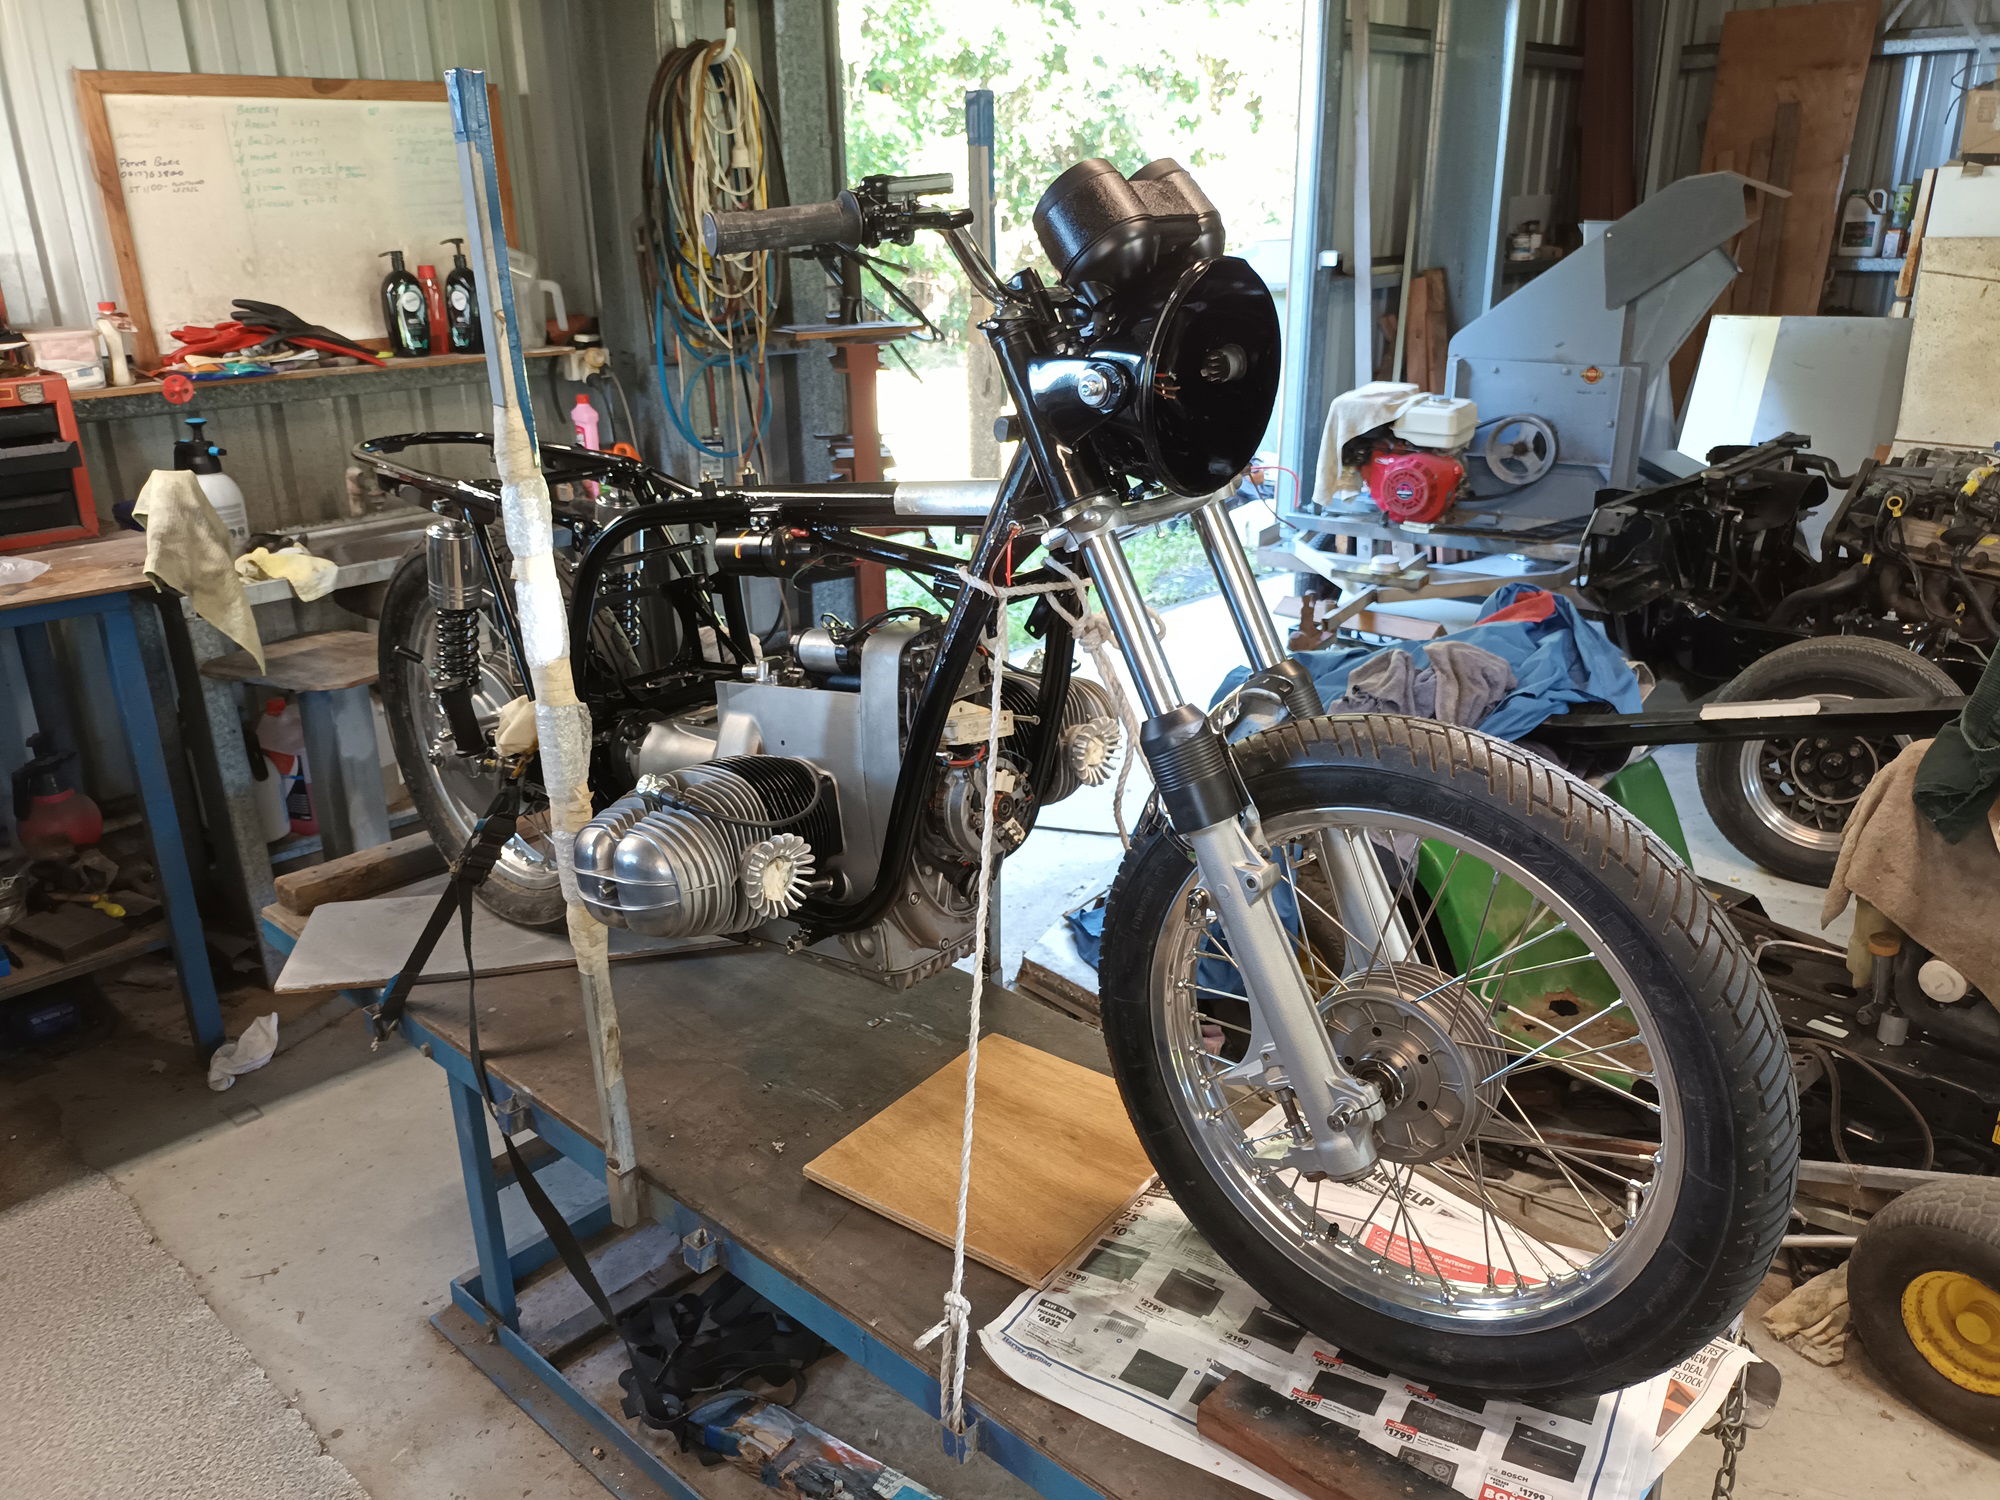
and home to the shed to start the job of putting it back on to its former glory. First job was to assemble the basic frame, which Don had already painted.
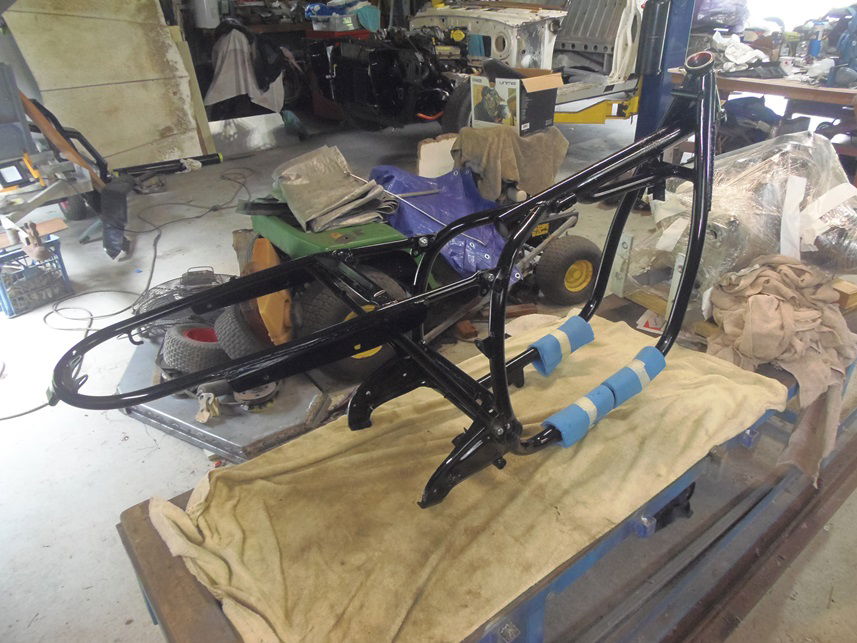
Next was the long job of sorting what parts I had and what was missing. After a serious hit to the credit card and endless freight delays. I figured I had almost every thing needed to complete the rebuild.
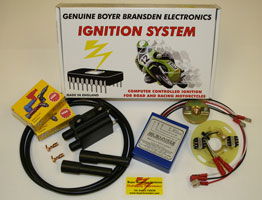
A big job was making a complete wiring loom from some of the bits I had andmodifying the ignition system to a new electronic system, which has made amajor difference to the way the bike starts and runs.
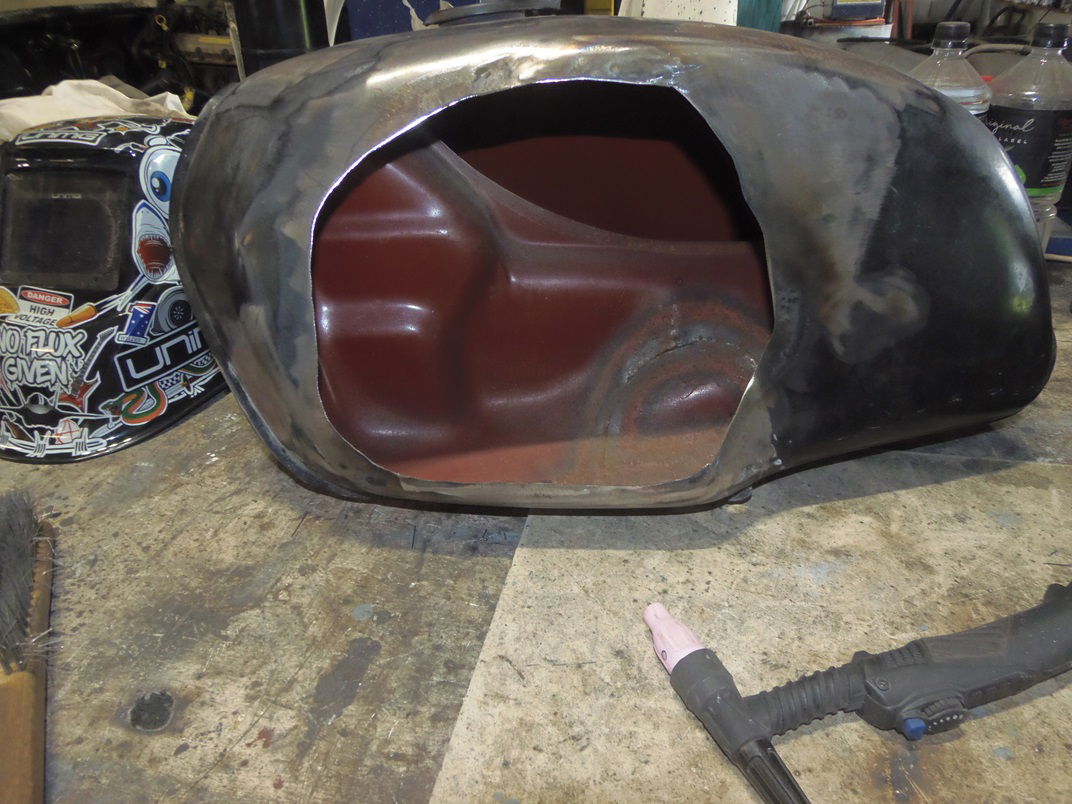
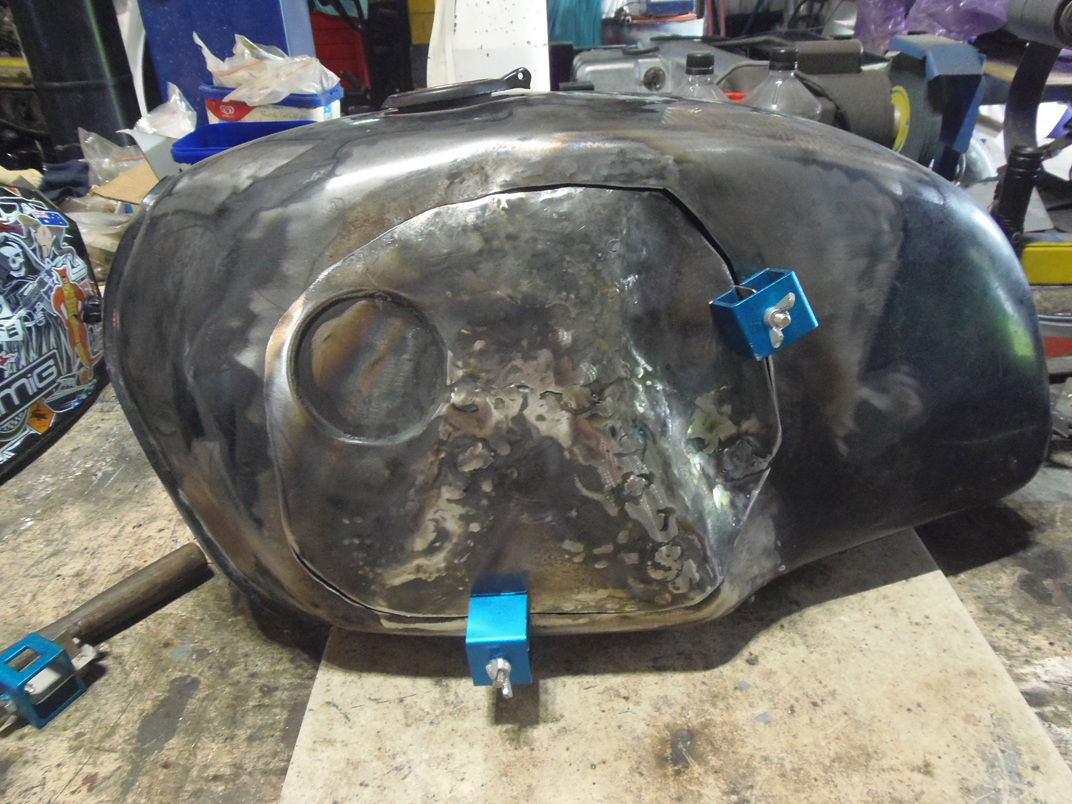
Next was repairs to two fuel tanks at the same time, one for the R90S and another for another club member.
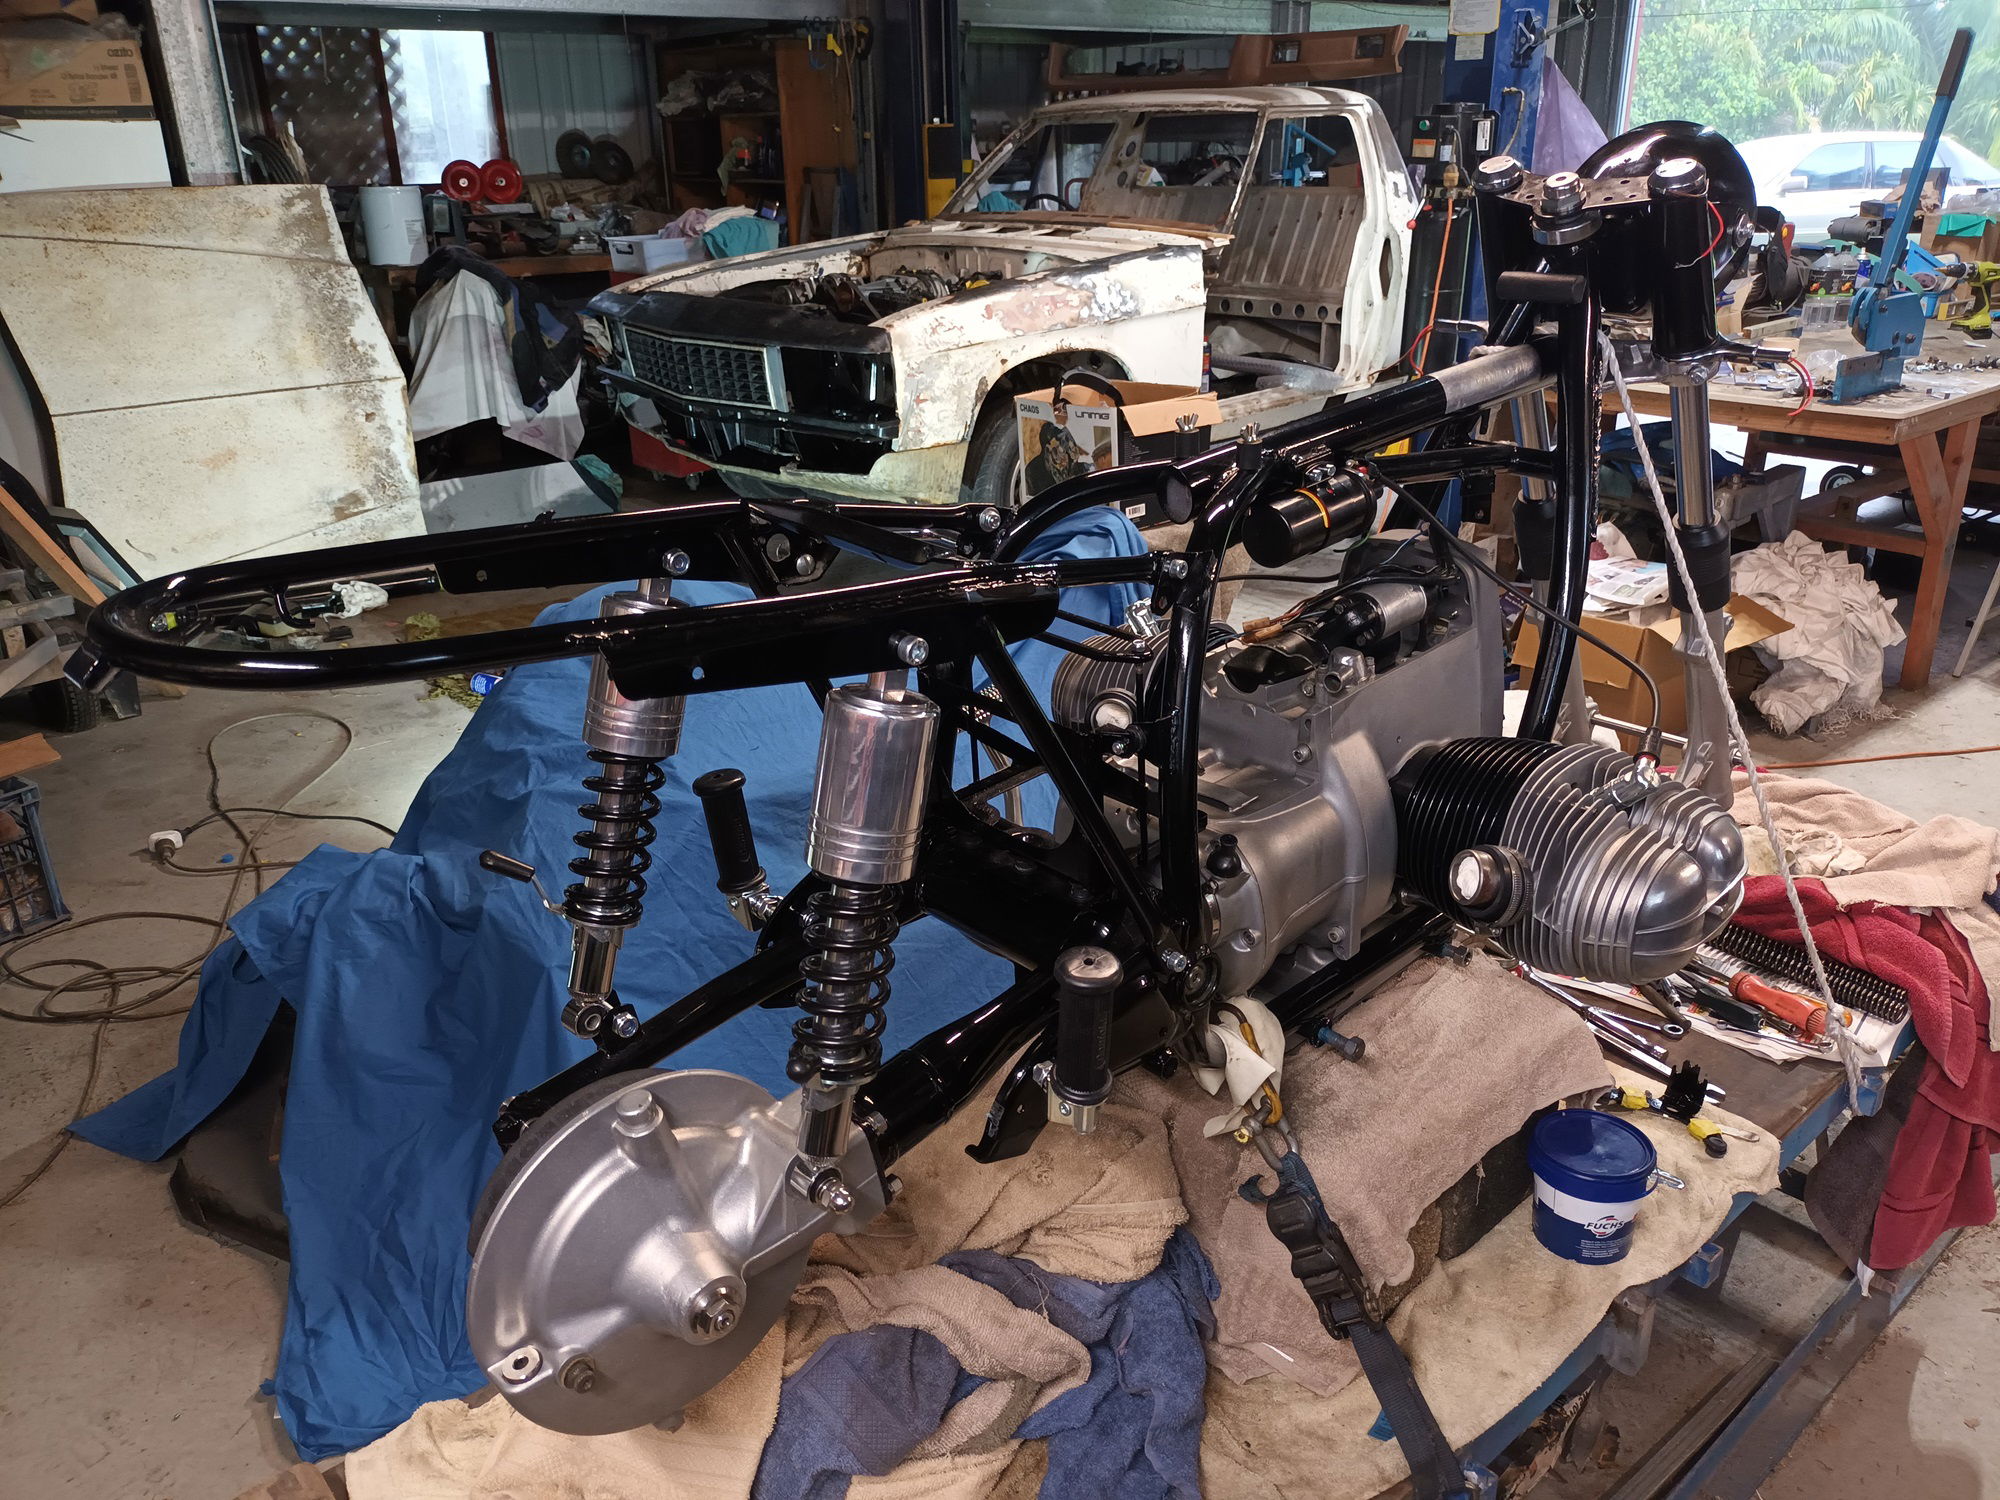
When I fitted the differential and drive shaft I discovered that the rear frame was slightly bent, probably as a result of the crash years ago. So I pulled it apart again, and the frame into the press to gently align it back to the rightposition. I had talked to Don about the rebuild and we agreed that the bike would remain mostly original, with only safety or common-sense modifications incorporated.
So, the ignition was changed along with LED head light, drilled brake disks and three relays in the wiring loom to remove the high amperageitems from drawing current through the handle bar switches (old Lucas and Triumph thinking) and fitting an extended oil sump.
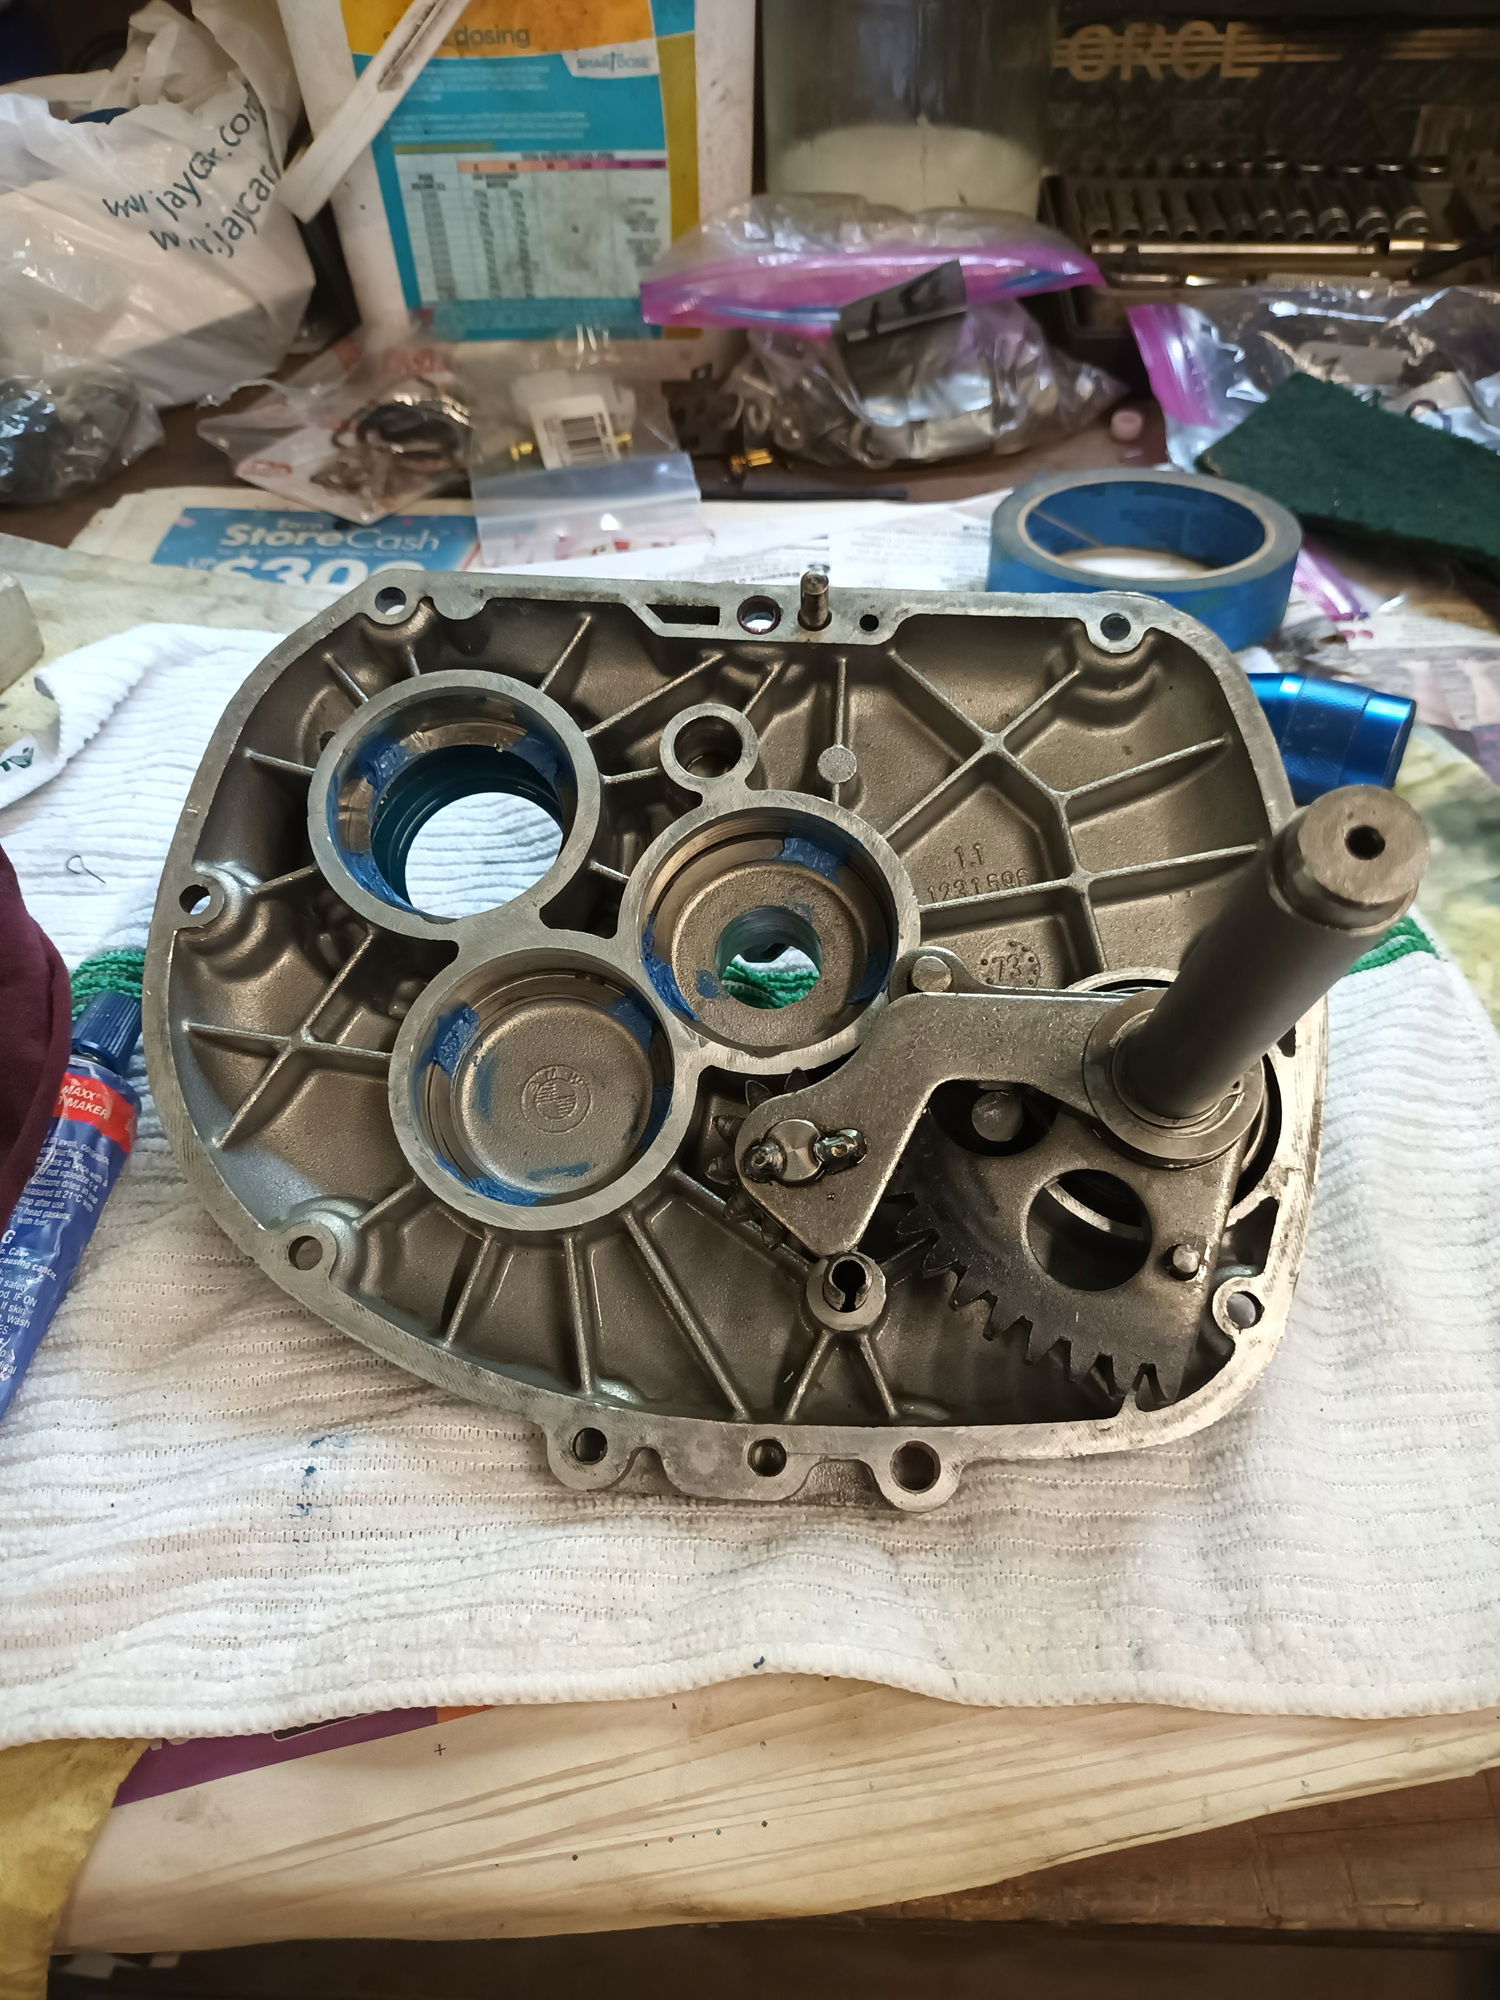
After a lot of work, I got to the stage of running the engine, which opened a can of worms. As anyone who has done restorations knows full well, it’s mostly two steps forward and one back. The started motor had locked up and needed a rebuild. Once the engine started, I had a horrible noise from the gearbox,which meant it had to come out and be pulled apart. The noise had come fromshaft shims which I assume had fallen out during a previous assembly. These shims had met a horrible fate in the gears, but luckily the gears were not damaged. After measuring and fitting new shims in the gearbox, it ran smooth and quiet. I and a lot of other BMW restorers, have also discovered that new replacement brake and speedo cables do not fit, they have over the years become shorter as each new lot are made. A bit of work on the lathe solved the problems.
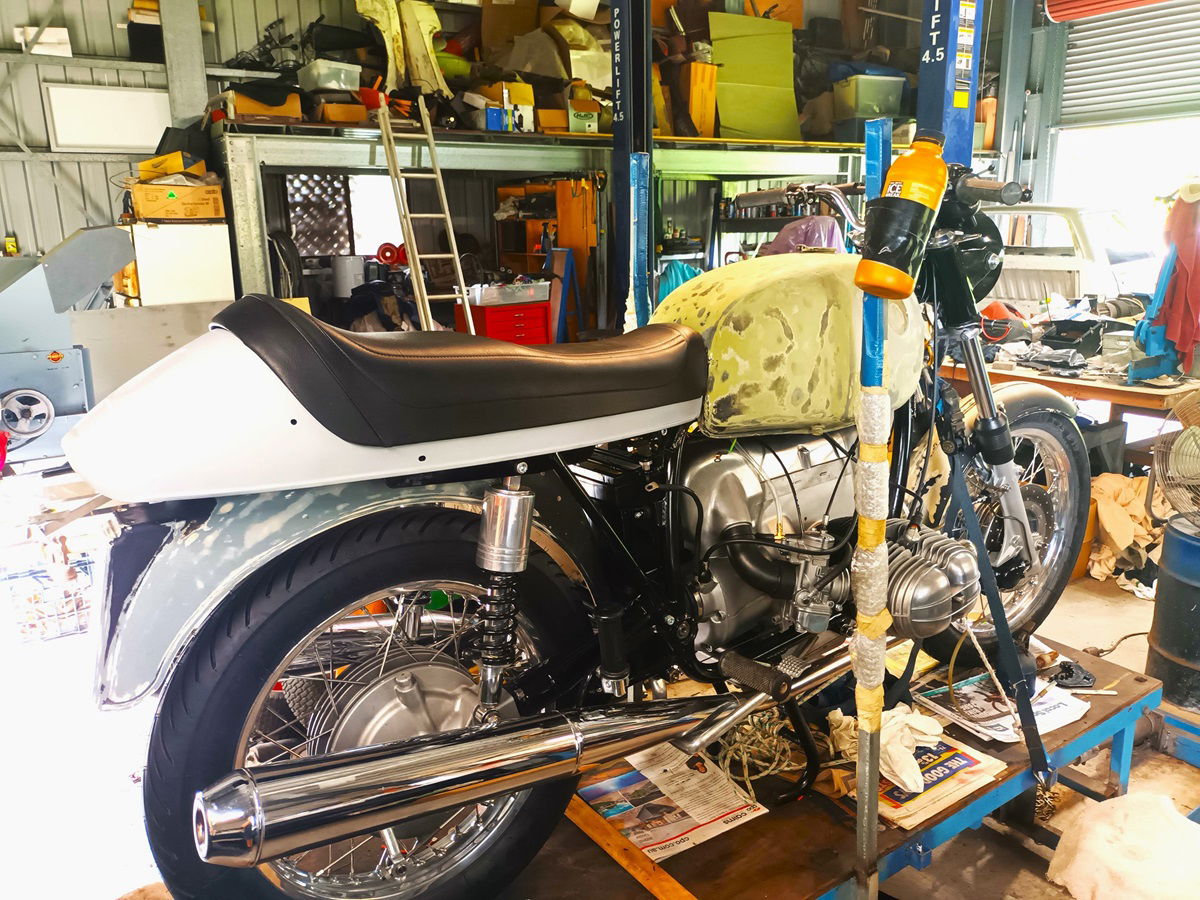
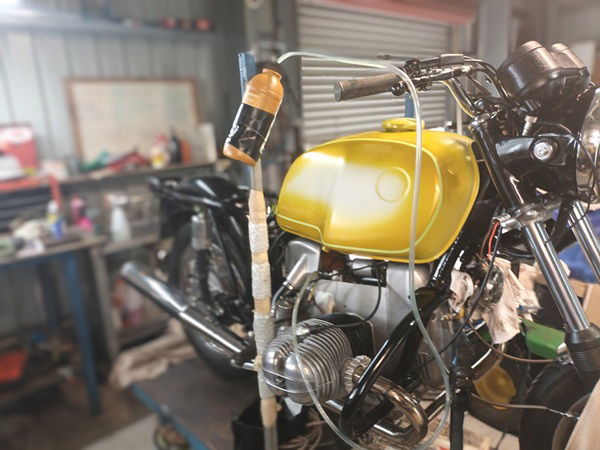
After discussions with several club member with bikes fitted with the original imperial wheel rims, I found there is not a lot of choice in brand. A lot of webtime, led to me discovering that Michelan are now onto the restorationmarket, and produce brand new original imperial size tyre with a moderncompound to suit. Then over a couple of months, there was a lot of running the engine, gearboxand differential while on the bike lift and endless checks of oil pressure, clutchand electrics (no smoke) and a pair of Delortos with leaks. Once I was satisfied that the basic bike mechanics were finished, it was onto the very big job of preparing all the tank, mudguards, side covers, fairing etc for paint.
The insideof the fuel tank had some of the original sealant flaking off, and needed repair. I washed it out with boiling water and detergent, then a phosphoric acid wash and a second lot hot water. The tank was then finished inside with two coats of epoxy polymide primer, nothing is going to effect the inside of that tank again.
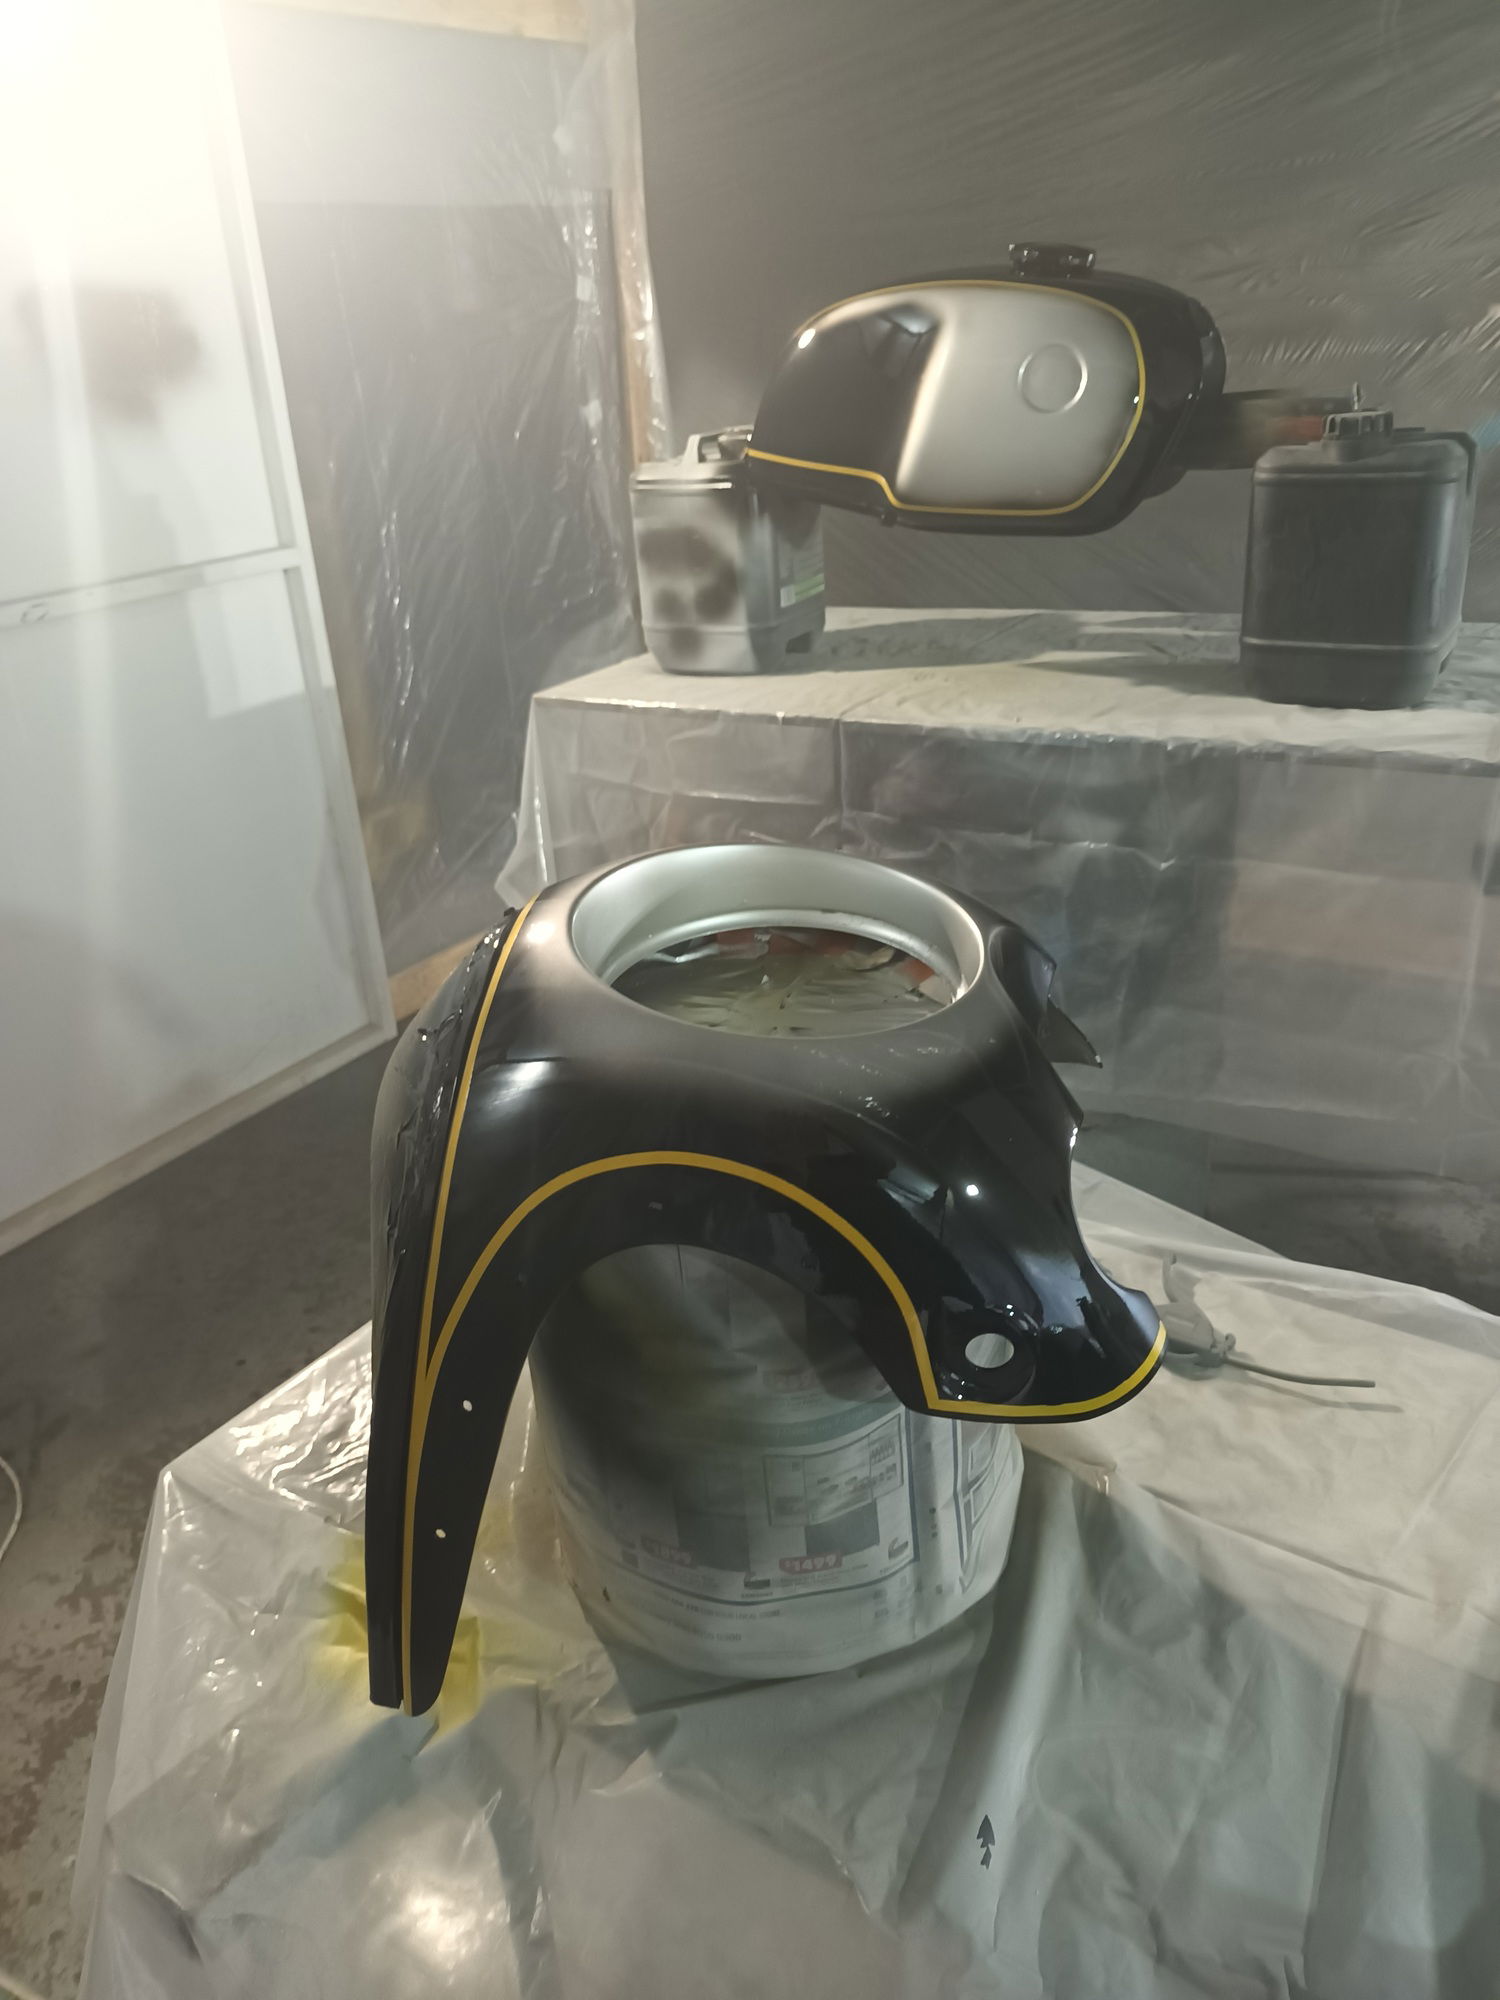
Of course, the original 1974 Silver Smoke paint scheme would be retained,even though it was tempting to go with the very popular Daytona Orange.Another couple of months removing many dents, scratches and cracks, and Ifinally had a surface ready for several coats of high build primer.
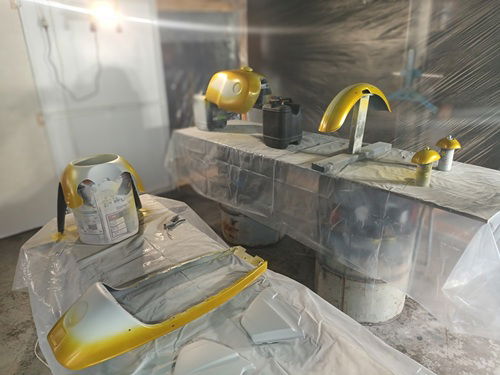
Down to thepaint shop for the three base coats colours and clear coat, with original paintcode in hand. As I suspected, and the subject of endless key board experts in forums, I was told the original codes are basically useless due them being referenced to what are now 50 plus year old tinters.
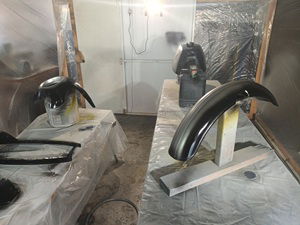
The paint shop was veryhelpful, making a few calls for me to Melbourne suppliers and we had some modern colours to work with. Into the booth and paint the bike, and I found out just how difficult the smokepaint job really is. The addition of the Talbort/Berlin mirrors to the fairing, making the pin striping more frustrating and time consuming.
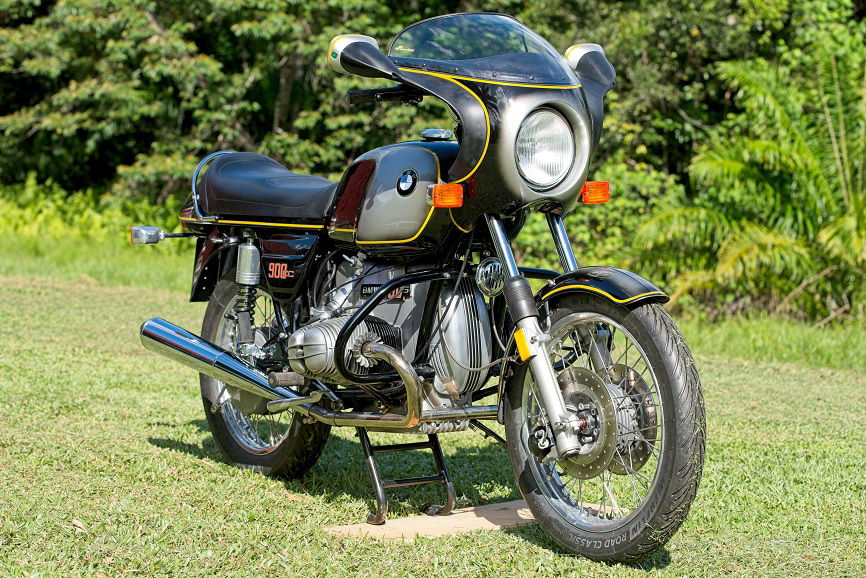
Finally, time to reassemble the bike, and start some test riding. This revealed that the brakes had to be bled again (one step forward, one step back). I was a bit concerned as the master cylinder had been to Knight Brakes in Cairns andfitted with a stainless steel sleeve. Lots of bleeding fluid and eventually thesystem had the correct pressure on the brake lever but still poor brakes. This bike has adjustable brake callipers, and it turned out a little adjustment was all that was need to have brakes working correctly.
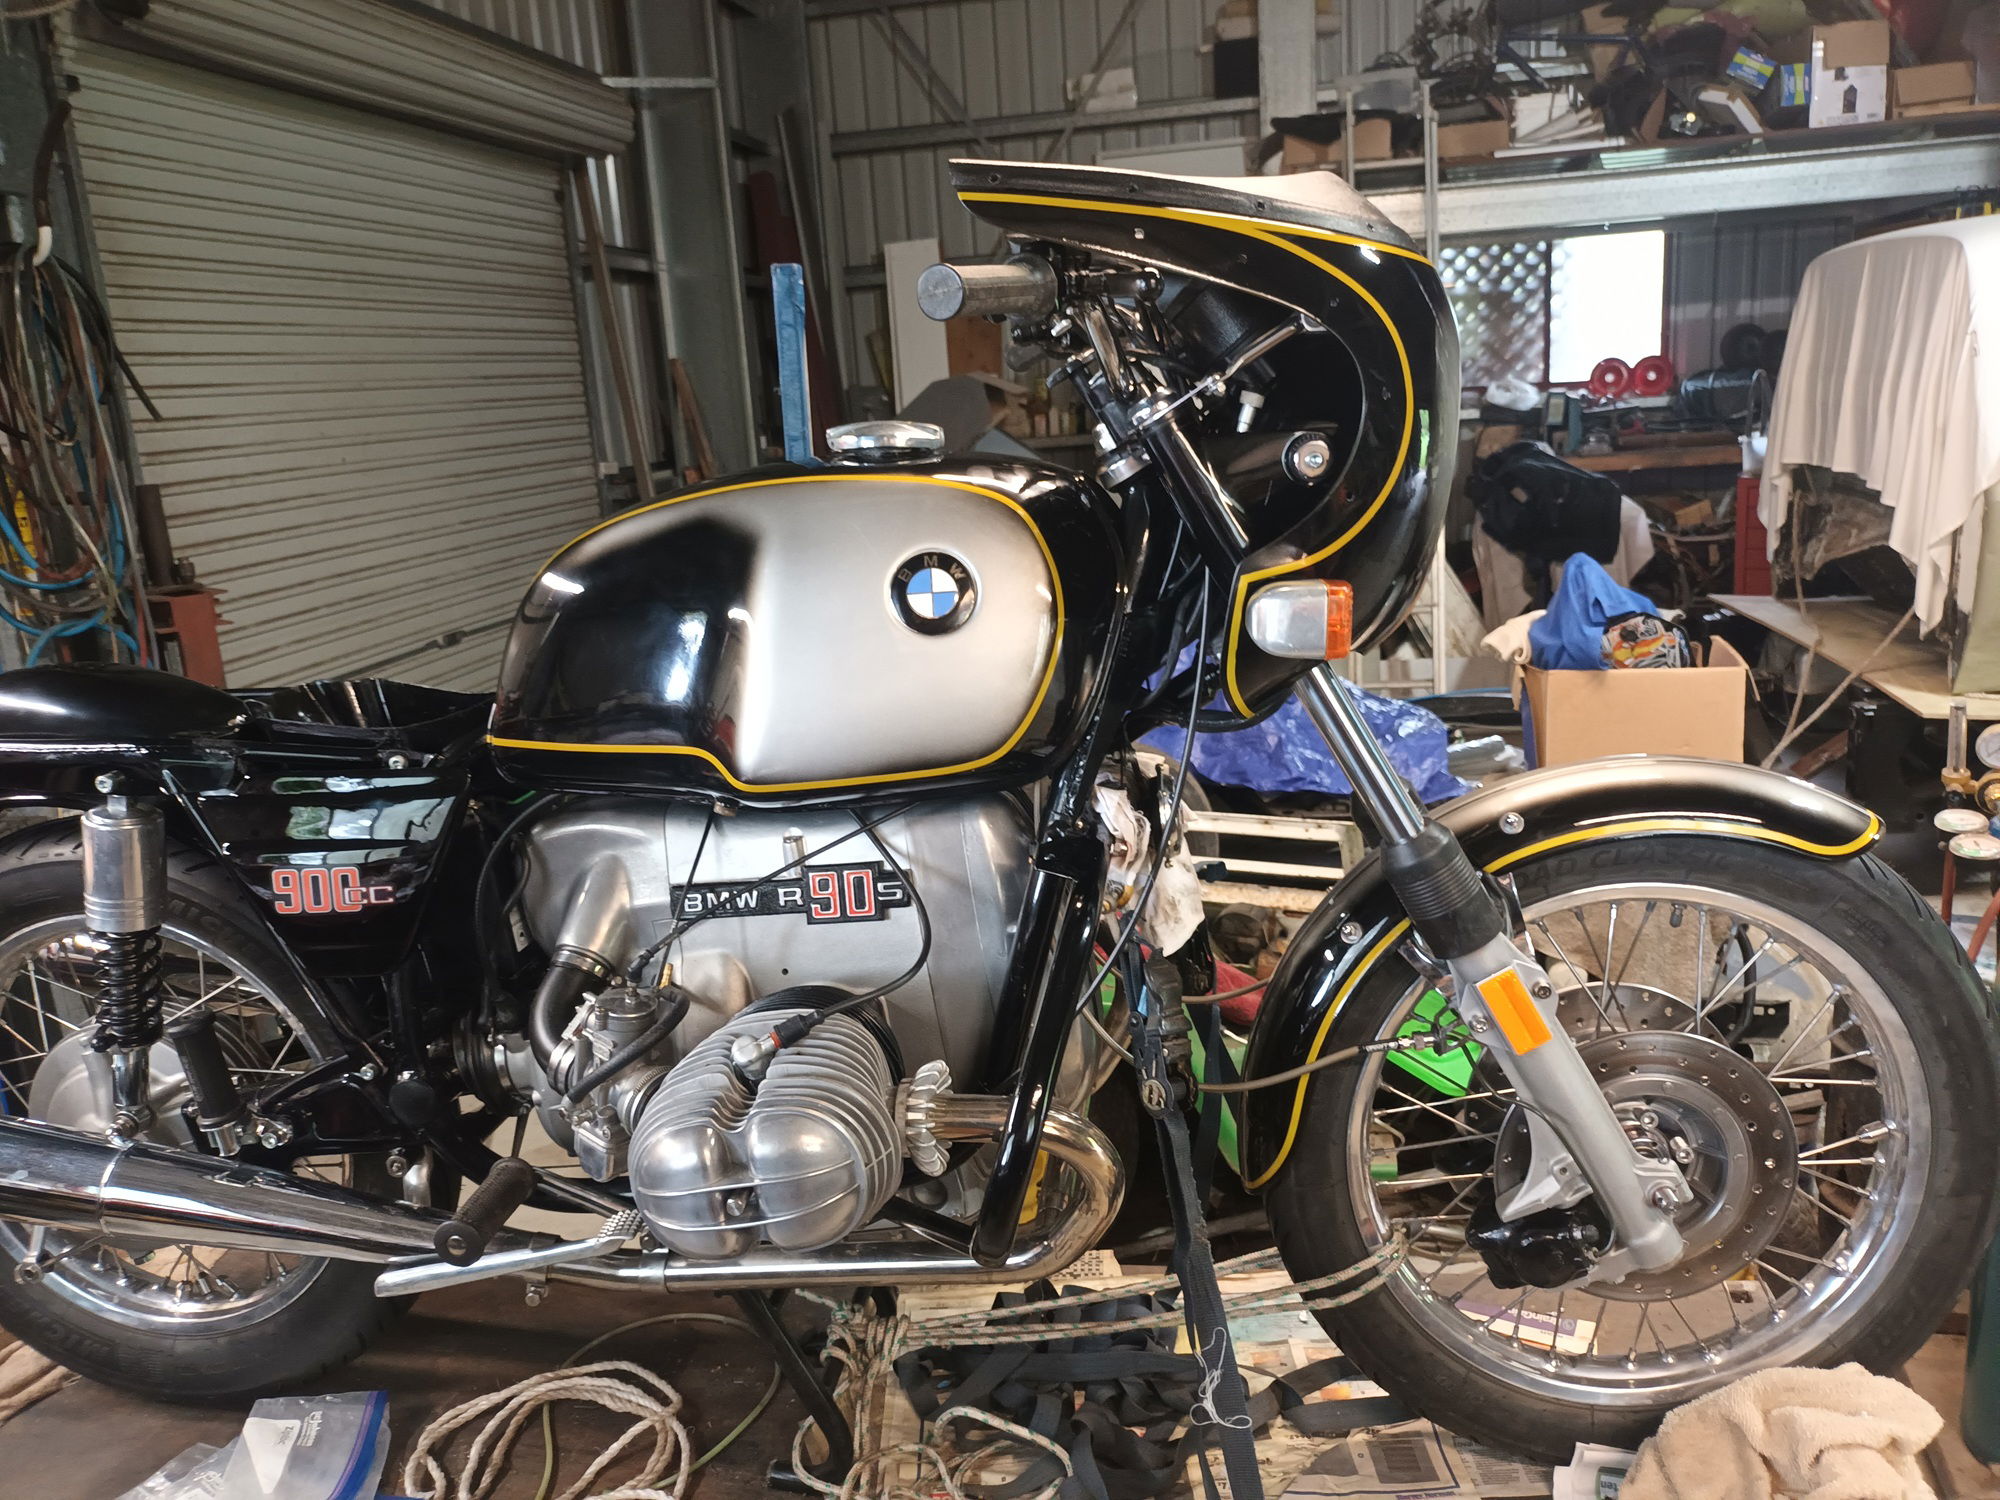
After more running up and down the drive, it was ready to go to road worthy inspection, and thanks to Grahame’s advice, it’s now on the road with club registration.
This entire restoration was made much easier with advice and knowledge from fellow club members, who have “been there done that”.
Thank you.
